
How to Measure for Hardwood Floors: Step-by-Step Guide
TL;DR:
- Accurate measurement and thorough preparation prevent costly hardwood flooring mistakes.
- Measure each room individually, include closets, and add a 7-10% waste factor for precision.
- Verify measurements multiple times and plan for unexpected costs in renovation projects.
Ordering too much hardwood flooring wastes hundreds of dollars. Ordering too little means installation delays, back-ordered materials, and mismatched dye lots that haunt you every time you walk into the room. The frustrating part? Both mistakes almost always trace back to one avoidable step: inaccurate measurement. Whether you are a homeowner getting ready for your first installation, a DIY enthusiast who wants to do it right, or a property investor renovating multiple rooms, this guide walks you through every measurement step clearly and practically so you get exactly what you need, nothing more and nothing less.
Table of Contents
- Gather your tools and prepare the space
- Measure each room: Step-by-step process
- Tips for handling tricky spaces and obstacles
- Verify your measurements and plan for installation
- What most guides miss: Planning for hidden costs and unexpected challenges
- Ready to start your hardwood flooring project?
- Frequently asked questions
Key Takeaways
| Point | Details |
|---|---|
| Prep is critical | Clearing the room and inspecting the subfloor helps ensure accurate measurements and easier installation. |
| Measure twice | Double-check all measurements to prevent ordering errors and wasted materials. |
| Account for waste | Always add 7-10% extra to your order for cuts, mistakes, and future repairs. |
| Divide complex spaces | Break down odd-shaped rooms into rectangles to simplify your calculations. |
| Plan for hidden costs | Budget extra time and money for possible surprises during renovations and installations. |
Gather your tools and prepare the space
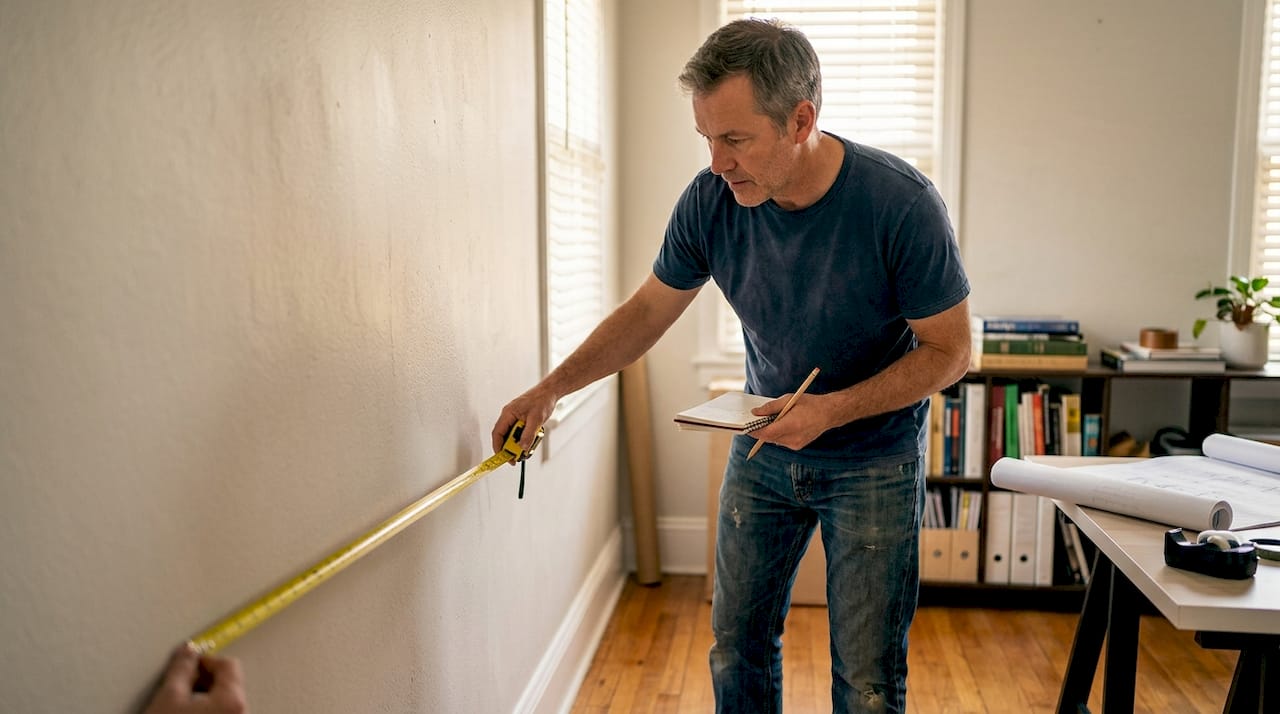
Before you pull out a tape measure, having the right tools and a prepared room makes the difference between measurements you can trust and numbers you will second-guess. Rushing this step is the most common reason homeowners end up with incorrect totals.
Here is what you need before you start:
- Tape measure (at least 25 feet long for larger rooms)
- Pencil and notepad or graph paper for sketching room layouts
- Calculator for quick math on the spot
- Laser distance measurer (optional, but excellent for large open spaces)
- Graph paper or a free floor plan app to sketch each room to scale
Once you have your tools, clear the room. Move furniture out completely, remove rugs, and sweep the floor. You need an unobstructed view of every wall and corner. According to the floor prep checklist, proper preparation prevents miscalculations due to obstacles and irregular room layouts. Skipping this step is like trying to read a map that is half covered in mud.
Also take this moment to inspect your subfloor. Soft spots, warping, or moisture damage can affect not just your measurements but your entire installation plan. Learning more about checking subfloor conditions before you start will save you from expensive surprises later.
| Tool | DIY use | Professional alternative |
|---|---|---|
| Tape measure | Standard for most rooms | Laser measurer for speed |
| Graph paper | Freehand sketching | CAD software or floor plan app |
| Calculator | Manual square footage math | Flooring estimator tools |
| Pencil and notepad | Record room dimensions | Digital measurement apps |
| Smartphone | Use built-in measuring apps | Professional grade laser tools |
Pro Tip: Walk the room perimeter before measuring. Note every bay window, closet opening, fireplace hearth, or built-in shelf. Irregular shapes are much easier to handle when you know they are coming.
Measure each room: Step-by-step process
With your tools and prep finished, let’s walk through the actual measuring technique. This is where accuracy is built, one room at a time.
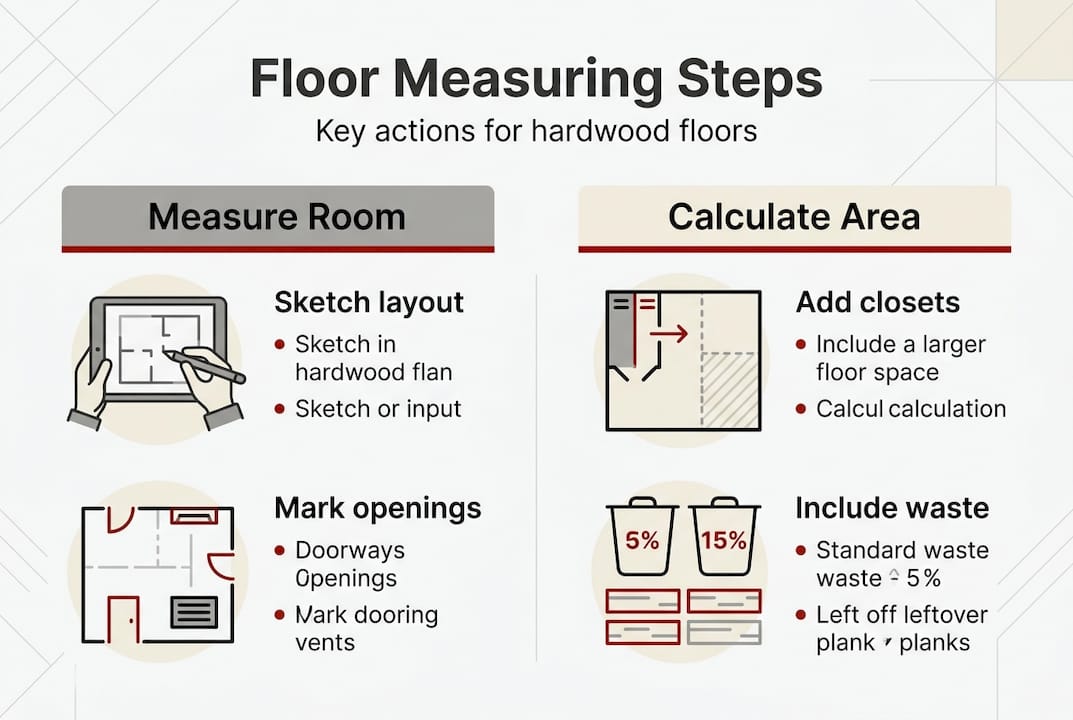
Step 1: Sketch the room. Draw a rough outline of the room on graph paper. It does not need to be perfect, but label each wall so your measurements stay organized.
Step 2: Measure length and width. For a standard rectangular room, measure the longest wall from corner to corner, then the opposite wall. Do the same for width. Use both numbers separately before multiplying.
Step 3: Calculate square footage. Multiply length by width. A 12-foot by 14-foot bedroom equals 168 square feet. Simple.
Step 4: Include closets and alcoves. Measure each separately and add those totals to your main room number. Closets often account for 15 to 30 extra square feet people forget to include.
Step 5: Add the waste factor. This is critical. Accurate square footage calculation ensures you order the right amount of hardwood flooring, and that includes planning for cuts, errors, and pattern matching. Add 7 to 10 percent to your total.
Step 6: Repeat for every room. If you are flooring multiple rooms, calculate each separately, then add them together for your final order number.
| Room shape | Example dimensions | Base square footage | With 10% waste |
|---|---|---|---|
| Rectangle | 12 ft x 15 ft | 180 sq ft | 198 sq ft |
| L-shaped | Two sections: 10×12 and 8×10 | 200 sq ft | 220 sq ft |
| Open concept | 20 ft x 25 ft | 500 sq ft | 550 sq ft |
| Bedroom with closet | 14×14 + 5×6 | 226 sq ft | 249 sq ft |
Use our flooring cost calculator to translate square footage into a real budget estimate before you start shopping.
Pro Tip: Use graph paper where one square equals one foot. This trick makes it easy to spot measurement errors visually before you do any math. A free phone app like MagicPlan works great too.
Tips for handling tricky spaces and obstacles
Once basic measurements are done, it’s time to tackle unique spaces and possible complications. Most rooms have at least one quirk that can throw off your numbers if you are not careful.
For L-shaped rooms, treat the space as two separate rectangles. Measure each section independently, calculate the square footage for each, then add them together. This method works for any non-rectangular shape, including T-shaped hallways and rooms with angled walls.
For stairs, each step has a tread (the part you walk on) and a riser (the vertical front face). Measure both separately. Multiply tread depth by width for each step, then multiply by the number of steps. Add that to your room totals if you are covering the staircase as well.
For closets, always measure inside the closet frame, not just the doorway opening. Walk-in closets especially can surprise you with extra square footage. Built-ins and fireplace hearths should be subtracted from your total only if the flooring will not go underneath or behind them.
Common measurement mistakes to avoid:
- Measuring only once instead of twice
- Forgetting to include closets or awkward hallway sections
- Using a stretched or old tape measure that reads short
- Ignoring the waste factor for diagonal installations (which need closer to 15%)
- Rounding down instead of up on odd dimensions
As noted in guides on preparing concrete slab conditions, obstacles like built-ins and irregular corners can affect flooring calculations significantly. Plan for them early.
Warning: For rooms with multiple angles, curved walls, or large obstacles, always add a minimum of 12 to 15 percent overage to your order. Running short mid-installation on a complex layout is a worst-case scenario.
If you are preparing a Bay Area property for installation, this Bay Area home prep guide covers region-specific considerations worth reviewing. Also, choosing the right material for complex rooms matters just as much as measuring them well, so reviewing your wood species selection options is a smart next step.
Pro Tip: After measuring a tricky area, stand back and look at your sketch. If anything looks off visually, re-measure that section. Your instincts are often right.
Verify your measurements and plan for installation
After tackling problem areas, it is essential to check your work and prepare for the next phase. One verified measurement is worth ten rushed ones.
The best way to verify is to grab a helper. One person holds the tape at the starting wall while the other walks the tape to the opposite wall. Swap roles and repeat. If two independent measurements match, you can trust that number. If they differ by more than a quarter inch, measure a third time.
Verification steps to complete before ordering:
- Re-measure every room independently at least twice
- Confirm all closets, hallways, and alcoves are included in totals
- Double-check that your waste factor percentage has been applied
- Compare your room-by-room list against your sketch to catch missing spaces
- Add up all room totals and confirm the grand total makes sense for your home size
- Review delivery minimums with your supplier, as some require a 100 square foot minimum order
Verification helps avoid ordering errors and wasted material costs, which can add up fast on larger projects. Getting the math right now protects your budget later.
Once verified, use your total square footage to look at real pricing. The 1000 sq ft cost guide gives you a useful benchmark. Then think about how you plan to install, because the method affects material needs. Nail-down, glue-down, and floating installations each have slightly different prep requirements, so reviewing your installation method options will help you plan ahead.
Pro Tip: Save your measurement notes in a photo on your phone. That sketch with all your dimensions is gold during delivery day, during installation, and if you ever need to order more material later.
What most guides miss: Planning for hidden costs and unexpected challenges
Here is something the typical measurement guide never tells you: the numbers are just the beginning. In our experience helping homeowners and property investors across the Bay Area, the projects that go over budget almost never fail because of bad math. They fail because real rooms are messier than the plan.
Subfloors in older homes often need leveling or repair before flooring goes down, and that work changes timelines. Delivery minimums can mean you pay for more material than you measured. Local installation rates vary by season, and material shortages in 2026 have pushed lead times longer than expected for some hardwood species.
The uncomfortable truth is that even a perfect measurement is just your starting point. Budget for the unexpected. We always recommend that homeowners budget for unexpected flooring costs before committing to a final order.
Always budget at least 10 percent more than your calculated materials, especially for older homes or renovations where subfloor surprises are common.
Measure accurately, plan generously, and you will be fine.
Ready to start your hardwood flooring project?
You have done the hard work of measuring, verifying, and planning. Now it is time to pick the floor that fits your space and your budget. At Kapriz Hardwood Floors, we carry everything from high-end luxury brands to genuinely affordable flooring options for homeowners who want quality without overpaying.
Browse our full selection when you explore hardwood floors to find styles that match your measurements and your vision. If you are thinking about installing hardwood through multiple rooms, our guide on whole-home wood flooring walks you through planning a cohesive look from room to room. We are here to help you go from a solid measurement to a beautiful finished floor.
Frequently asked questions
How much extra hardwood flooring should I order to account for mistakes and waste?
Most experts recommend ordering 7 to 10 percent more than your calculated square footage, and our installation step guide confirms that including a waste factor in ordering is essential for covering cuts and errors.
What’s the best way to measure irregular-shaped rooms for hardwood floors?
Divide irregular rooms into rectangles or squares, measure each section, and add the areas together for total square footage. Guides on preparing concrete slabs recommend breaking complex shapes into sections to maintain accuracy.
Do I need to prep the subfloor before measuring for hardwood floors?
Yes, preparing and inspecting the subfloor first ensures accurate measurements and a smoother installation. Subfloor preparation is considered essential prior to measuring according to professional installation standards.
How can I make sure my measurements are accurate?
Measure each room at least twice, compare both results, and record all dimensions before placing an order. Taking this step helps you avoid the ordering errors that drive up material costs unexpectedly.
Can I use a laser measurer instead of a tape measure?
Yes, laser measurers offer speed and precision, especially for large or open-concept rooms. However, always double-check results with a tape measure in corners, closets, and any areas with irregular angles.
Recommended
- Bay Area hardwood DIY guide: 5 steps to success | Kapriz Hardwood Flooring Store
- How to install hardwood flooring: step-by-step 2026 guide | Kapriz Hardwood Flooring Store
- How to refinish hardwood floors: step-by-step guide 2026 | Kapriz Hardwood Flooring Store
- How Do I Find My Perfect Hardwood Flooring? A Simple Guide for Homeowners | Kapriz Hardwood Flooring Store


