
How to install hardwood flooring: step-by-step 2026 guide
Installing hardwood flooring transforms your home’s look and value, but many homeowners struggle with moisture issues, subfloor preparation, and choosing the right installation method. Without proper planning, you risk warping, gaps, or costly repairs. This guide walks you through every step, from selecting the right hardwood type for your space to finishing touches that ensure durability. Whether you’re a DIY beginner or working with a tight budget, you’ll learn practical strategies to install beautiful, long-lasting hardwood floors that enhance your living space.
Table of Contents
- Understanding Hardwood Flooring Types And Installation Requirements
- Preparing Your Subfloor For Hardwood Installation
- Step-By-Step Hardwood Flooring Installation Process
- Post-Installation Care And Common Mistakes To Avoid
- Explore Quality Hardwood Flooring Options At Kapriz Hardwood Flooring Store
- Frequently Asked Questions
Key takeaways
| Point | Details |
|---|---|
| Hardwood type selection | Choose solid hardwood for on-grade or above-grade installations, and engineered hardwood for moisture-prone or below-grade areas. |
| Subfloor preparation | Ensure your subfloor is clean, dry, level, and structurally sound before installation to prevent future damage. |
| Installation method | Select nail-down for wood subfloors, glue-down for concrete with plywood, or floating for easier DIY projects. |
| Moisture control | Use moisture barriers and test concrete subfloors to avoid warping and damage from humidity. |
| Post-installation care | Finish with proper trims, sealing, and routine maintenance to extend your floor’s lifespan. |
Understanding hardwood flooring types and installation requirements
Choosing the right hardwood type sets the foundation for a successful installation. Solid hardwood consists of planks milled from a single piece of wood, offering timeless beauty and the ability to refinish multiple times. However, solid hardwood should only be installed on grade or above grade due to moisture susceptibility, making it unsuitable for basements or areas with high humidity. Engineered hardwood features a real wood veneer bonded to multiple layers of plywood or high-density fiberboard, providing greater stability in fluctuating moisture conditions. For below-grade installations, engineered hardwood is recommended over solid hardwood because its layered construction resists expansion and contraction.
Your subfloor type determines which hardwood you can install. Suitable subfloors include existing wood floor foundations, plywood over joists, and concrete slabs with a plywood underlayment and moisture barrier. Wood subfloors naturally pair with both solid and engineered hardwood, while concrete requires additional preparation to prevent moisture from damaging solid planks. If you’re installing in a basement, kitchen, or bathroom where moisture levels vary, engineered hardwood offers the best protection against warping and cupping.
Pro Tip: Before purchasing materials, inspect your subfloor for moisture using a moisture meter. Wood subfloors should read below 12% moisture content, and concrete should be under 4.5%. High readings indicate you need better ventilation or a dehumidifier before installation.
Understanding these fundamentals helps you make informed decisions when choosing between solid and engineered hardwood for your specific home conditions. Evaluate your room’s location, existing subfloor, and moisture exposure to select the hardwood type that delivers both beauty and longevity.
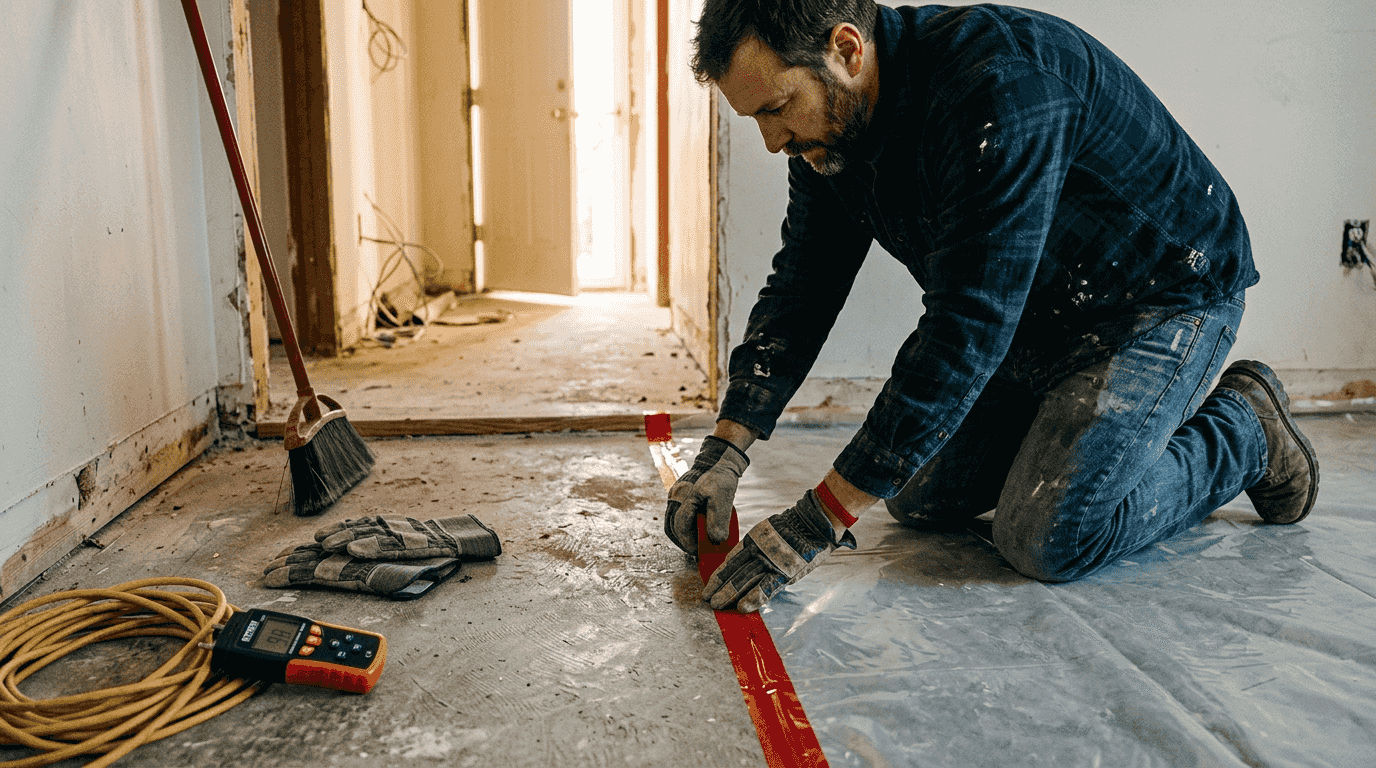
Preparing your subfloor for hardwood installation
Proper subfloor preparation prevents squeaks, gaps, and premature wear. Your subfloor must be clean, dry, sturdy, and level within 1/8 inch over 10 feet. Remove all debris, old adhesive, and protruding nails or screws. Check for soft spots, rot, or water damage, and replace any compromised sections before proceeding.
For wood or plywood subfloors, follow these steps:
- Inspect joists for spacing and stability, ensuring they’re no more than 16 inches apart for 3/4 inch plywood.
- Secure loose boards by driving screws into joists every 6 inches along squeaky or uneven areas.
- Sand down high spots and fill low areas with leveling compound to create a flat surface.
- Sweep and vacuum thoroughly to remove dust that could interfere with adhesive or create bumps.
Concrete subfloors require additional work. Hardwood floors should be installed over an existing wood floor foundation, or a plywood subfloor, so concrete needs a protective layer. For concrete subfloors, install a ½ CDX plywood subfloor before installing hardwood to create a nailable surface and moisture barrier. First, test the concrete for moisture using a calcium chloride test or moisture meter. If moisture levels are acceptable, apply a vapor barrier, then fasten plywood sheets with concrete screws or construction adhesive, staggering seams for stability.
| Subfloor Type | Preparation Required | Moisture Considerations |
|---|---|---|
| Wood/Plywood | Secure loose boards, level surface, clean thoroughly | Check for rot, ensure moisture content below 12% |
| Concrete Slab | Install vapor barrier and ½ inch CDX plywood underlayment | Test moisture levels, ensure below 4.5% before installation |
| Existing Hardwood | Sand smooth, repair damaged boards, check for stability | Verify no water damage or mold beneath surface |
Pro Tip: Conduct a moisture test on concrete slabs by taping a 2×2 foot plastic sheet to the floor and leaving it for 24 hours. If condensation forms underneath, moisture levels are too high for hardwood installation. Install a dehumidifier and retest before proceeding.
Thorough subfloor prep ensures your hardwood installation remains stable and beautiful for decades. For more guidance on preparing concrete subfloors, consult detailed resources that address moisture barriers and underlayment options.
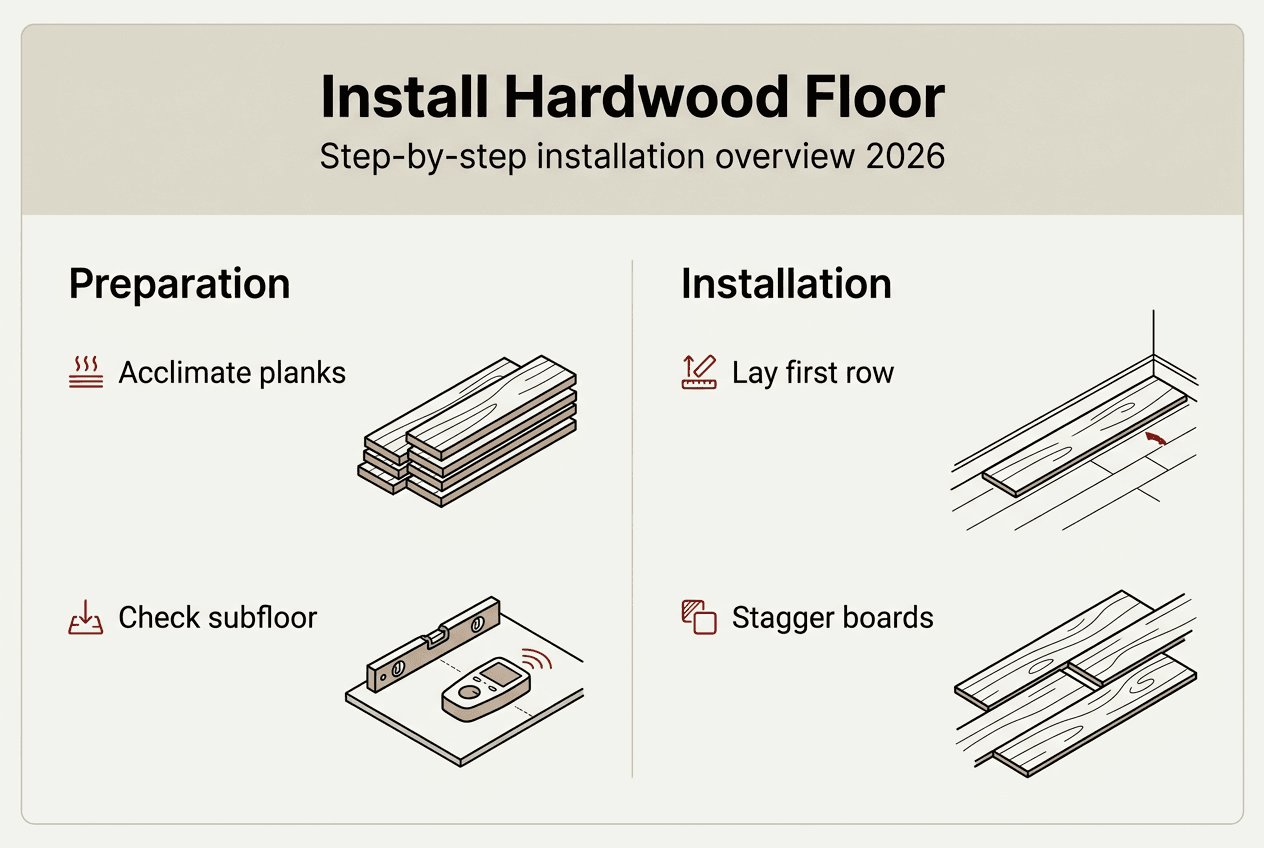
Step-by-step hardwood flooring installation process
Once your subfloor is ready, follow these steps to install hardwood flooring successfully. Start by acclimating your hardwood planks to the room’s temperature and humidity for at least 72 hours. Stack planks with spacers between them to allow air circulation. This prevents expansion or contraction after installation.
Prepare the room by removing baseboards, door casings, and any obstacles. Measure the room’s width and divide by the plank width to determine how many rows you’ll need. If the final row will be narrower than 2 inches, rip the first row to a wider width so the last row isn’t too thin.
Follow these installation steps:
- Roll out underlayment or moisture barrier if required by your flooring manufacturer.
- Snap a chalk line parallel to the longest wall, accounting for a 1/2 inch expansion gap.
- Lay the first row of planks along the chalk line with the tongue side facing out, using spacers against the wall.
- Nail or staple through the tongue at a 45-degree angle every 8 to 10 inches, keeping fasteners 2 inches from plank ends.
- Fit the groove of the next plank over the tongue of the previous one, tapping gently with a rubber mallet and tapping block.
- Stagger end joints by at least 6 inches between rows to create a stronger, more natural-looking floor.
- Continue row by row, checking alignment every few rows and adjusting as needed.
- Cut the final row to width, leaving a 1/2 inch gap at the wall, and face-nail if the nailer won’t fit.
Hardwood floors should be installed over an existing wood floor foundation, or a plywood subfloor, so ensure your base meets these requirements before starting. Different installation methods suit different subfloors and skill levels:
| Installation Method | Best For | Difficulty Level | Key Advantages |
|---|---|---|---|
| Nail-Down | Wood subfloors, solid hardwood | Moderate | Strong, permanent bond; allows refinishing |
| Glue-Down | Concrete with plywood, engineered hardwood | Moderate to Hard | Reduces noise, works on radiant heat systems |
| Floating | Any level subfloor, engineered hardwood | Easy | DIY-friendly, removable, no fasteners needed |
Essential tools and materials include:
- Hardwood flooring nailer or stapler
- Rubber mallet and tapping block
- Circular saw or miter saw
- Tape measure and chalk line
- Spacers for expansion gaps
- Underlayment or moisture barrier
- Safety glasses and knee pads
Pro Tip: Stagger your board lengths randomly and avoid creating patterns like H-joints or stair-stepping, which weaken the floor and look unnatural. Mix planks from different boxes to blend color variations for a more uniform appearance.
For detailed guidance on hardwood floor installation steps and preparing for hardwood installation, explore resources that cover layout planning and tool selection. Proper installation technique ensures your floor remains stable and attractive for years.
Post-installation care and common mistakes to avoid
After installation, finishing touches and ongoing care protect your investment. Common mistakes include skipping acclimation, ignoring moisture levels, improper nailing, and failing to leave expansion gaps. These errors lead to cupping, crowning, gaps, or squeaks that compromise your floor’s appearance and lifespan.
Avoid these frequent pitfalls:
- Installing hardwood immediately after delivery without acclimating to room conditions
- Nailing too close to plank edges, causing splits and cracks
- Forgetting expansion gaps at walls, which causes buckling when wood expands
- Using the wrong fastener length or spacing, leading to loose or squeaky boards
- Installing solid hardwood in high-moisture areas like basements or bathrooms
Finishing steps depend on whether your flooring is prefinished or unfinished. Prefinished planks require only trim installation, while unfinished floors need sanding, staining, and sealing. Install baseboards and quarter-round molding to cover expansion gaps, securing them to the wall rather than the floor to allow movement. If you installed unfinished hardwood, sand progressively with 36, 60, 80, and 120-grit sandpaper, then apply stain and at least three coats of polyurethane, allowing proper drying time between coats.
Moisture control remains critical after installation. Engineered hardwood is a viable alternative to solid hardwood in areas prone to moisture, but even engineered floors benefit from humidity management. Maintain indoor humidity between 35% and 55% year-round using humidifiers in winter and dehumidifiers in summer. Place mats at entryways to catch moisture from shoes, and clean spills immediately to prevent water from seeping between planks.
Moisture damage is the leading cause of hardwood floor failure. Even small amounts of water can cause warping, cupping, or mold growth if left unaddressed. Always use moisture barriers on concrete subfloors and monitor humidity levels with a hygrometer to catch problems before they escalate.
Pro Tip: Clean your hardwood floors weekly with a microfiber mop slightly dampened with a hardwood-specific cleaner. Avoid soaking the floor or using steam mops, which introduce excess moisture. Every few years, apply a fresh coat of finish to high-traffic areas to maintain protection and shine.
For ongoing protection, review hardwood floor moisture protection tips and explore water resistant hardwood flooring options if you’re concerned about spills or humidity. Proper care and maintenance keep your floors looking new and extend their lifespan by decades.
Explore quality hardwood flooring options at Kapriz Hardwood Flooring Store
Now that you understand installation fundamentals, selecting the right hardwood for your project becomes the next priority. At Kapriz Hardwood Flooring Store, we offer a wide selection of solid and engineered hardwood in various species, grades, and finishes to match any style and budget. Whether you’re seeking luxury options with exotic wood species or budget-friendly choices that don’t sacrifice quality, our inventory includes products we trust and use ourselves.
Our team provides expert guidance on choosing hardwood floors that suit your home’s specific conditions, from moisture-prone basements to high-traffic living areas. We help you navigate budget-friendly hardwood flooring options without compromising on durability or appearance. Explore our selection and discover why homeowners trust Kapriz for wood flooring throughout your house, delivering beauty and value in every plank.
Frequently asked questions
How do I know if my subfloor is suitable for hardwood installation?
Check that your subfloor is dry, flat within 1/8 inch over 10 feet, and structurally sound without soft spots or damage. Use a moisture meter to test wood subfloors (below 12%) and concrete slabs (below 4.5%). For below-grade areas, consult subfloor suitability guidelines or a professional to determine if engineered hardwood is necessary.
Can I install solid hardwood flooring below grade?
No, solid hardwood should only be installed on grade or above grade due to moisture susceptibility. Below-grade areas like basements experience higher moisture levels that cause solid hardwood to warp, cup, or develop mold. Choose engineered hardwood for below-grade installations, which resists moisture damage through its layered construction.
What are the best installation methods for hardwood floors?
Nail-down installation works best for wood subfloors and provides a strong, permanent bond. Glue-down suits concrete subfloors with plywood underlayment and reduces noise transmission. Floating installation is easiest for DIY projects and certain engineered floors, requiring no fasteners. Your choice depends on subfloor type, hardwood selection, and skill level. Review hardwood installation methods for detailed comparisons.
How long should hardwood flooring acclimate before installation?
Acclimate hardwood planks for at least 72 hours in the room where they’ll be installed, maintaining temperature between 60-80°F and humidity between 35-55%. Stack planks with spacers to allow air circulation on all sides. Acclimation prevents expansion or contraction after installation, reducing the risk of gaps or buckling.
How do I maintain hardwood floors after installation?
Clean weekly with a microfiber mop and hardwood-specific cleaner, avoiding excess water or steam mops. Maintain indoor humidity between 35-55% year-round using humidifiers or dehumidifiers as needed. Place mats at entryways, clean spills immediately, and reapply finish to high-traffic areas every few years to protect the surface and maintain shine.
Recommended
- How to refinish hardwood floors: step-by-step guide 2026 | Kapriz Hardwood Flooring Store
- How Do I Find My Perfect Hardwood Flooring? A Simple Guide for Homeowners | Kapriz Hardwood Flooring Store
- How to Install Hardwood Floors – Nail-Down, Glue-Down, and Floating Methods | Kapriz Hardwood Flooring Store


