
Hardwood Floor Installation Methods: Choose Right
You spend weeks picking the perfect hardwood floor, only to watch it buckle, gap, or squeak within a year. That nightmare is more common than you’d think, and it almost always traces back to one decision made before a single plank was laid: choosing the wrong installation method. Skipping acclimation or moisture tests leads directly to floor buckling and gaps that no amount of refinishing can fix. This guide breaks down every major installation method, walks you through Bay Area specific prep, and helps you decide whether to grab your tools or call a pro.
Table of Contents
- Understanding the three main hardwood floor installation methods
- Preparing your space for hardwood floor installation
- Choosing the right method for your home: pros, cons, and Bay Area considerations
- DIY vs. professional installation: what you need to know
- Common pitfalls and expert tips for a flawless install
- Next steps: elevate your project with expert materials and advice
- Frequently asked questions
Key Takeaways
| Point | Details |
|---|---|
| Know the methods | Nail-down, glue-down, and floating are the main hardwood floor installation options. |
| Prep ensures quality | Proper acclimation and moisture testing prevent costly failures. |
| Match method to home | Choose installation based on your subfloor, DIY skill, and Bay Area conditions. |
| DIY with care | Floating is beginner-friendly, but some methods are better left to pros. |
| Avoid common pitfalls | Mistakes like skipping tests or choosing the wrong method can ruin your new floors. |
Understanding the three main hardwood floor installation methods
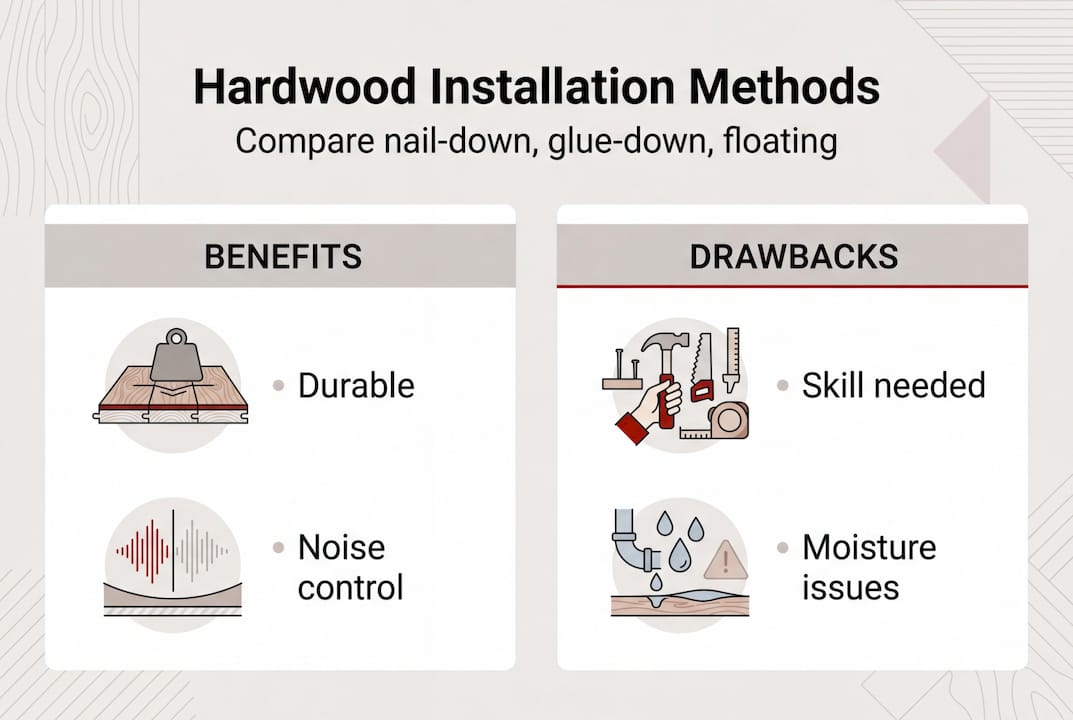
Every hardwood floor installation comes down to three core approaches, and picking the right one depends on your subfloor, your wood type, and your skill level. The three primary methods are nail-down, glue-down, and floating. Each one has a distinct set of tools, costs, and ideal use cases. You can also find a solid overview of installation methods to help you compare before committing.
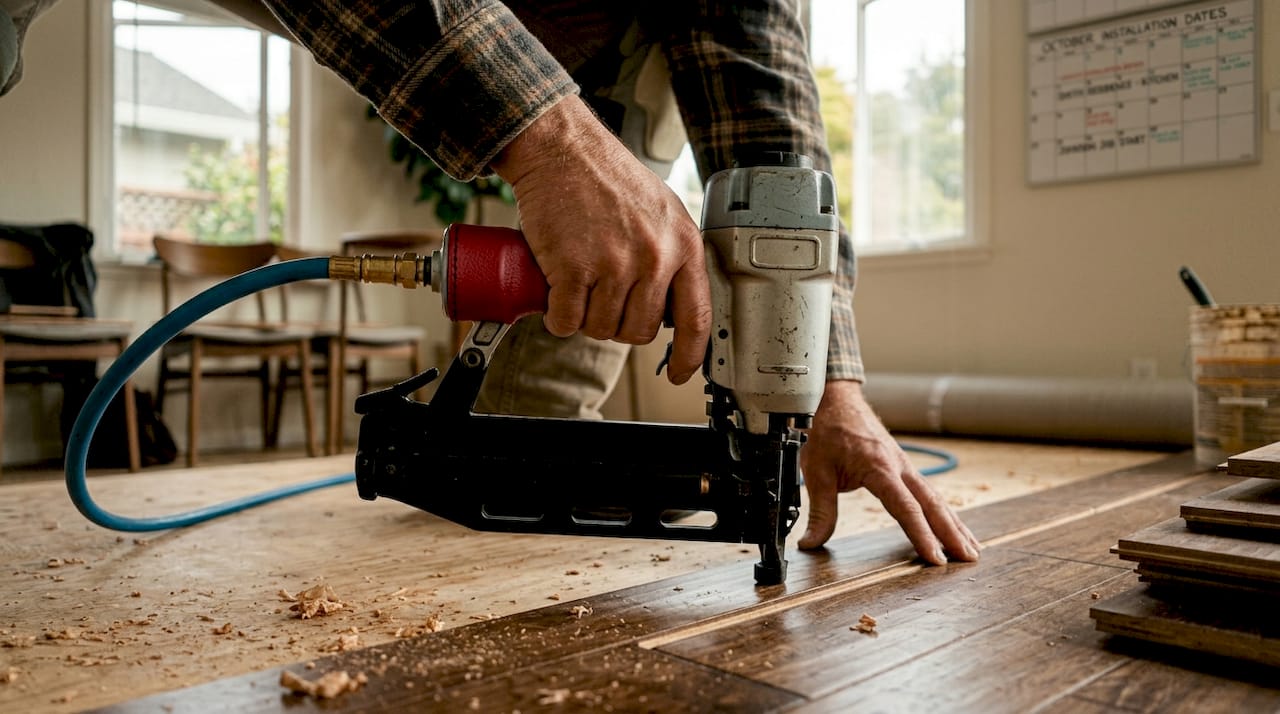
Nail-down is the traditional method. You use a pneumatic flooring nailer or stapler to fasten solid hardwood planks directly into a wood subfloor. It creates an incredibly solid, long-lasting floor. The catch: it only works on wood subfloors, not concrete.
Glue-down uses a strong adhesive to bond engineered or solid hardwood directly to the subfloor. It works on both concrete and plywood, making it the go-to for slab-on-grade homes. It also reduces noise and works well over radiant heating systems.
Floating is the fastest and most DIY-friendly option. Planks click or lock together and rest on top of an underlayment pad without being fastened to the subfloor at all. It works on almost any flat surface and requires the fewest specialized tools.
Here is a quick comparison to help you visualize the differences:
| Method | Subfloor | Tools needed | DIY difficulty | Avg. cost (materials) |
|---|---|---|---|---|
| Nail-down | Wood only | Pneumatic nailer, compressor | Moderate to hard | $3 to $5/sq ft |
| Glue-down | Concrete or plywood | Trowel, adhesive, roller | Moderate | $4 to $6/sq ft |
| Floating | Any flat surface | Tapping block, pull bar | Easy | $2 to $4/sq ft |
Key things to keep in mind when reviewing your options:
- Nail-down is best for solid hardwood 3/4 inch thick
- Glue-down gives the most stable feel underfoot
- Floating allows for seasonal movement without fasteners
- All three methods require a flat, clean, dry subfloor
Preparing your space for hardwood floor installation
Once you have picked your preferred installation method, being properly prepared will make all the difference in your outcome. Rushing this phase is the single biggest reason floors fail in the first year.
The most important step is acclimation. New hardwood needs time to adjust to your home’s temperature and humidity before installation. Acclimation takes 3 to 7 days at 65 to 75 degrees Fahrenheit and 30 to 55 percent relative humidity, with the wood’s moisture content reaching 6 to 9 percent. Skipping this step in a Bay Area home, where coastal fog and microclimates can shift indoor humidity fast, is a recipe for warped planks. Read more about acclimating hardwood flooring before you open a single box.
Subfloor prep is equally critical. Your subfloor must be flat within 3/16 inch over any 10-foot span, clean, and completely dry. Follow these steps before install day:
- Clear the room completely and remove all baseboards
- Check subfloor flatness using a long straightedge or level
- Sand down high spots and fill low spots with floor leveling compound
- Run a moisture test on concrete slabs using a calcium chloride or RH probe test
- Check wood subfloors with a pin-type moisture meter (aim for under 12 percent)
- Sweep, vacuum, and remove any debris, nails, or staples
- Let the wood acclimate in the room where it will be installed
For Bay Area homes built on concrete slabs, especially in areas like San Jose or Fremont, moisture testing is non-negotiable. Learn more about prepping a concrete subfloor before you commit to glue-down or floating. You can also review the full job preparation steps on our site for a complete checklist.
Pro Tip: Even in mild Bay Area climates, run your HVAC system for at least 48 hours before acclimation begins. This stabilizes indoor conditions and gives you a more accurate read on how the wood will behave long-term.
Choosing the right method for your home: pros, cons, and Bay Area considerations
With your workspace prepared, the next pivotal choice is selecting the method that best fits your goals, your skill level, and local conditions. Not every method works equally well in every Bay Area home.
Nail-down is best for solid hardwood installed above grade over wood subfloors. Glue-down minimizes noise over concrete or radiant heat systems but is very difficult to remove later. Floating is the fastest and most affordable option, ideal for DIYers, though it can sound slightly hollow underfoot in some areas.
| Method | Best for | Pros | Cons | Bay Area note |
|---|---|---|---|---|
| Nail-down | Solid hardwood, wood subfloor | Solid feel, long-lasting | Needs wood subfloor, loud tools | Great for older Oakland or SF homes with plywood subfloors |
| Glue-down | Concrete slabs, radiant heat | Quiet, stable, no hollow sound | Hard to remove, messy | Ideal for slab-on-grade homes in San Jose or Fremont |
| Floating | Any flat subfloor | Fast, DIY-friendly, no adhesive | Can sound hollow, less rigid | Works well in condos or rentals where you can’t alter the subfloor |
A few Bay Area specific points worth knowing:
- Older homes in San Francisco and Berkeley often have diagonal subfloor boards, which require extra prep for nail-down
- Concrete moisture levels near the Bay can be higher than inland areas, so always test before gluing
- If you are matching existing floors in a historic home, nail-down typically gives the most seamless look
- Dustless installation is increasingly popular in the Bay Area for health and cleanup reasons
For a full breakdown of what each method costs from start to finish, check out our guide on installation cost ranges and our detailed page on hardwood floor installation cost per 1,000 square feet. Also worth reading: our roundup of common flooring fail trends so you know what to avoid.
Pro Tip: If you are installing over radiant heat, always use engineered hardwood. Solid wood expands and contracts too much with temperature swings and can crack or cup over time. Check with your local Bay Area installation advice for region-specific guidance.
DIY vs. professional installation: what you need to know
Knowing the pros and cons of each method, you will need to assess if you are best off tackling the job yourself or calling in reinforcements. The honest answer depends on the method, your subfloor, and your comfort with tools.
Floating engineered hardwood over a flat, dry subfloor is genuinely DIY-friendly. Nail-down and glue-down, however, are a different story. They require precision, specialized equipment, and experience to get right. Skipping acclimation or moisture tests during a DIY install leads directly to buckling and gaps.
Here is what a DIY install actually involves:
- Renting or buying a pneumatic nailer, compressor, or adhesive trowel
- Spending a full weekend or more on a 500 square foot room
- Cutting planks accurately around doorways, vents, and irregular walls
- Managing expansion gaps consistently around the entire perimeter
- Troubleshooting subfloor issues as they come up mid-install
When should you call a pro? Consider it strongly if:
- Your subfloor is concrete and needs moisture mitigation
- You are installing over radiant heat
- You are working with wide planks over 5 inches (they move more and need precise fastening)
- You are matching existing floors in a heritage or historic Bay Area home
Typical labor costs in the Bay Area run $3 to $8 per square foot, with fully installed pricing landing between $7 and $12 per square foot depending on the method and complexity. Read our full breakdown on DIY vs. pro installation to weigh the real costs. You can also browse Bay Area pro installer reviews to find vetted local contractors.
“The most common and costly mistake homeowners make is rushing the prep phase. A floor that looks perfect on day one can fail within months if the subfloor moisture was not properly tested or the wood was not given time to acclimate.”
Common pitfalls and expert tips for a flawless install
Even armed with all the right information, the difference between a lasting result and a flooring headache is found in the little details. Most installation failures are entirely preventable.
The most common mistakes include:
- Skipping acclimation: Wood that has not adjusted to your home’s humidity will expand or contract after install, causing gaps or buckling
- Ignoring moisture tests: Especially on Bay Area concrete slabs, hidden moisture destroys adhesive bonds and warps planks
- Forgetting expansion gaps: Hardwood needs 1/2 inch of space around the perimeter to expand seasonally
- Using the wrong method for the subfloor: Nail-down on concrete is not possible; glue-down on an uneven slab will fail fast
- Rushing the adhesive cure time: Walking on glue-down floors too soon shifts planks before the bond sets
Skipping acclimation or moisture tests is the leading cause of floor failures, and it is 100 percent avoidable with a little patience. For more detail on why acclimation matters, we have a full guide that walks you through the process step by step.
Pro Tip: For wide plank floors over 5 inches, use a glue-assist method even when nailing down. Apply a bead of flooring adhesive along the tongue before nailing. This dramatically reduces movement, squeaking, and seasonal gapping.
“Moisture is the number one enemy of hardwood floors. Even a subfloor that looks and feels dry can hold enough moisture to destroy a glue bond or cause solid wood to cup within weeks of installation.”
If you are installing wood floors over radiant heat, follow the manufacturer’s temperature guidelines strictly and always use engineered hardwood. Review flooring install best practices for a technical deep dive into moisture management and subfloor prep.
Next steps: elevate your project with expert materials and advice
You are now ready to make a confident, informed choice about your hardwood floor installation. But even the best technique falls short without quality materials behind it.
At Kapriz Hardwood Floors, we stock a wide range of quality hardwood selection suited to every installation method, from floating engineered planks to solid nail-down strips. Whether you are outfitting a single room or planning wood flooring options throughout your house, we carry brands we trust and use ourselves. We also specialize in durable Bay Area flooring that holds up to local humidity, coastal air, and the demands of real Bay Area living. Stop by or reach out to us for personalized guidance on which product and method combination makes the most sense for your specific home and budget.
Frequently asked questions
What is the easiest hardwood floor installation method for beginners?
Floating floors are DIY-friendly, fastest to install, and require no specialized tools like nailers or adhesive trowels, making them the best starting point for first-time installers.
How long does hardwood flooring acclimation take?
Plan for 3 to 7 days of acclimation at 65 to 75 degrees Fahrenheit and 30 to 55 percent relative humidity before installation begins.
Can you install hardwood floors over radiant heating in the Bay Area?
Yes, but stick to engineered hardwood and use glue-down or floating methods. Avoid nail-down over radiant heat unless proper moisture barriers are in place.
What common mistakes should I avoid during installation?
The biggest failures come from skipping acclimation or moisture tests, which leads to buckling and gaps, along with forgetting to leave expansion gaps around the room’s perimeter.
How do I know if my subfloor is suitable?
Your subfloor needs to be flat within 3/16 inch over a 10-foot span, completely dry, and free of debris before any hardwood installation method can succeed.


