Parquet Floors
WHEN PEOPLE HEAR THE WORD PARQUET, THEY often think of the cheap and simple wood tiles installed by the acre in the 1960s and ’70. But there’s more to parquet floors than that. Broadly speaking, parquet floors are a mosaic of wood pieces combined to form a pattern. They have graced palaces and historic buildings for at least 500 years and are considered by many people to be the most beautiful wood floors ever created. Thousands of patterns exist, and the range of possibilities is limited only by your imagination. Parquet floors can be made either by installing one board at a time, as is typical with herringbone floors, or by installing wooden tiles composed of smaller pieces. Some of the oldest parquet tiles are held together with painstakingly cut mortise and tenon joints. With the high-quality adhesives available today, many of the parquet tiles I make are simply held together with tape or temporarily adhered to a paper backing until they’re bedded in glue. (Because I glue down parquet, the vapor retarder is always a trowel-applied product that’s compatible with the adhesive.) Some parquet flooring is made from standard 3/4-in.-thick flooring, while other parquet consists of thinner material. In this chapter, I’ll cover making and installing several types of parquet, beginning with 3/4-in. herringbone and including parquet tile and a three-dimensional-looking rhomboid floor.
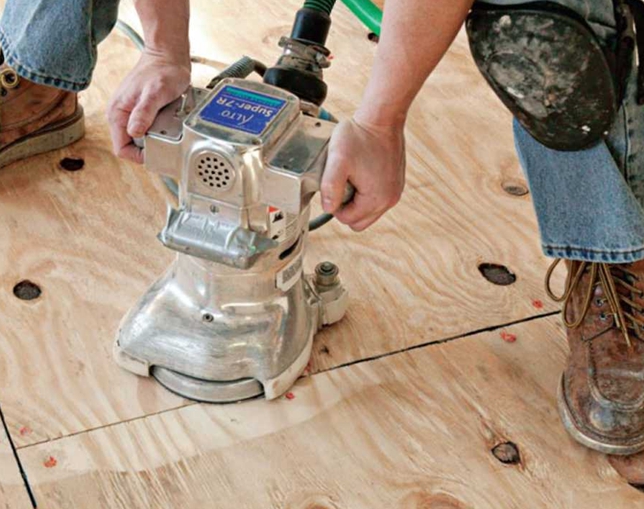
Installing parquet flooring requires more layout work than strip flooring. Sometimes, it just entails snapping more layout lines on the floor, but you may also have to screw some plywood straightedges in place temporarily to provide backing. It depends on the type of flooring you’re laying. If there’s a border, I usually install the parquet in the field first. I try to manipulate the size of my feature strips, border, and apron so I do not have to trim the parquet. In some cases, the parquet may have to be cut. I draw working lines on the floor prior to starting the installation so I know where not to apply the adhesive. After installation, I measure and redraw cutting lines onto the field of parquet before installing the border.
Herringbone Parquet
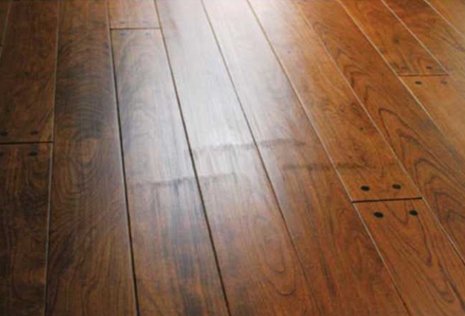
Herringbone, the classic parquet design, consists of flooring laid in a zigzag or V-shaped pattern. Herringbone parquet generally looks best when you install the points of the Vs parallel to the longest direction of the room. As with any floor, consider focal points when deciding the layout (the points of the herringbone should align or be symmetrical with the focal points). To make sure my customers understand how the floor will look, I always dry-lay a few rows before starting the permanent installation.
The potential variation of herringbone designs is huge. The tips of the boards, or slats, can be mitered or square-edged. Mitered herringbone slats are sometimes referred to as chevrons or Hungarian-style herringbone. The slats themselves can be made of multiple bands of different color woods. one of my favorite looks is to square-cut the ends of the slats and add a square of a contrasting wood at the point of the V instead of overlapping the ends. Because of the angular nature of herringbone floors, this square block looks like a diamond. In the floor shown in the installation sequence the diamond is white oak and the slats are Brazilian cherry.
Visit Our Showroom Today
Kapriz Hardwood Floors is a real store: This means manufacturer backed warranties, expert advice and proven end results for you, our client. We are not a risky internet store front with a polished website and shopping cart that is shipping from a random and unknown warehouse. We are here to work for you. We value our customers and will help you find the right floor for your home and budget. Call now to learn about our daily specials and how Kapriz Hardwood Floors can satisfy your unique wood flooring requirements right away!
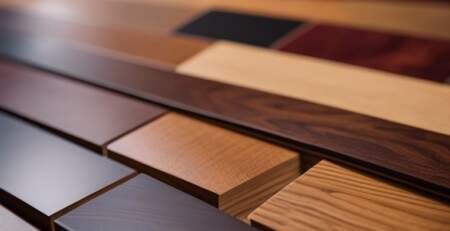
Types of Flooring Products Available: